
A dense loaf is rarely a mystery. It is the dough telling you that something happened too early, too late, or not at all. The crumb is tight and heavy, the slice bends instead of standing up, and the crust often stays pale and soft when it should caramelise. The encouraging part is that bread keeps a record of every step: how the dough felt after an hour, whether it sprang back when you poked it, how it behaved under your hands during shaping.
These are the mistakes that most often turn a promising batch into a brick, roughly in the order worth checking them.
Under-fermentation is the first suspect
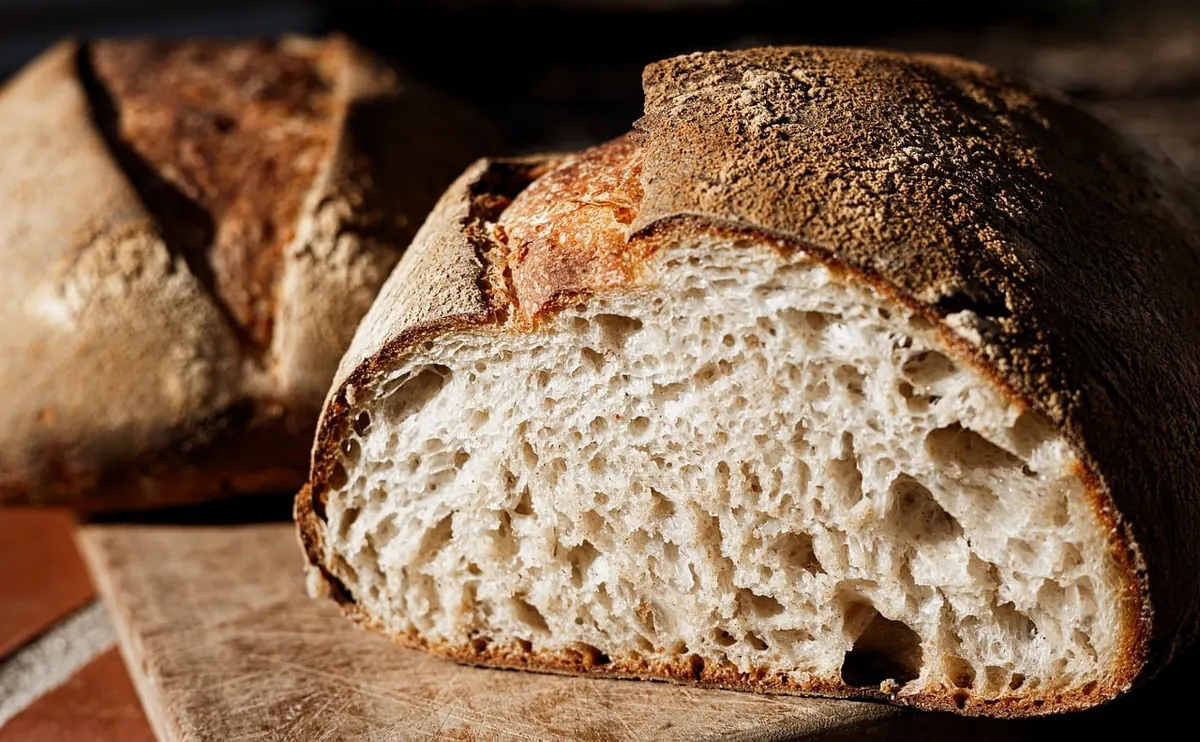
If you only adjust one thing after a dense bake, adjust fermentation. Under-fermented dough feels tight, cool and reluctant. It fights back when you stretch it, snaps into shape like a rubber band and refuses to hold a poke. The baked loaf then shows a small, even, heavy crumb, a pale crust, scoring that barely opens and, sometimes, a faintly raw or yeasty smell instead of the sweet, nutty aroma of properly ripened dough.
Recipes are the usual culprit. A printed "bulk for three hours" assumes a warm kitchen and lively yeast; in a cool room, or with a stiff starter, the same dough may need five. Treat timings as a guide and the dough as the authority.
Signs the bulk is finished
- The dough has grown by roughly half to three-quarters in a straight-sided container, and you can still see the line it started from.
- Bubbles sit on the surface and along the sides; the dough jiggles gently when you shake the bowl.
- It feels like a soft marshmallow when you press it, and a floured finger leaves a dent that fills in slowly, not instantly.
To fix it, extend bulk fermentation and warm the dough slightly. A 24–26°C dough ferments far more predictably than one sitting at 19°C. In winter, mix with lukewarm water and park the bowl in an oven with the light on. If you are short on time, a poolish or biga made the night before gives you flavour and a head start without pushing the dough through a rushed, warm fermentation that tastes flat.
Or the dough has gone too far the other way
Over-proofing also produces dense bread, just a different shape of disaster: a loaf that spreads sideways, collapses when scored, and bakes into a pale, flat bread with a gummy band near the base and a few large holes trapped at the top. The dough has spent its strength before it ever reached the oven.
Catch it earlier. Shape while the dough is still lively enough to hold a dome, and shorten the final proof if the kitchen is warm. A cold retard in the fridge is your best control valve: it slows the last rise to a crawl, so you bake when it suits you rather than when the dough demands. Poke the proofed loaf in its banneton; if the dent stays put and does not spring back at all, bake it now.
Weak shaping leaves no tension
A loaf needs structure the way a tent needs its poles. Shaping is where you build it, and it is not about squeezing harder — it is about creating a taut outer skin that traps gas and gives the bread a direction to rise. Slack, shapeless dough spreads across the tray and bakes into a flat, close-textured loaf.
Work in two stages. Preshape lightly, then rest the dough for fifteen to twenty minutes so the gluten relaxes. For the final shape, use a lightly floured bench and drag the dough towards you with cupped hands, letting the surface tighten against the counter. Seal the seam firmly. Keep bench flour to a minimum: too much inside the folds creates layers that never fuse, and those pockets bake into dense, dry patches.
Hydration is not a competition
High-hydration bread photographs beautifully and behaves badly in inexperienced hands. Water makes dough extensible, and extensible dough with weak gluten simply flows. If your loaves are flat and gummy at 80% hydration, the answer is not more water.
Start at 65–70% and master that first. At that level the dough is easy to shape, holds tension and gives an open, even crumb. When you do add water, do it a spoonful at a time and only once the previous level feels manageable. Judge by feel rather than by numbers: flour absorbency varies from bag to bag, and a dough that feels right at 68% in summer may need 72% in a dry winter. A thirty- to sixty-minute rest of flour and water before you add salt and starter makes any dough easier to handle.
Poor steam and a cool oven
Oven spring depends on the crust staying soft for the first few minutes of baking. Without steam, the surface dries and sets early, and the loaf is locked into whatever size it reached in the bowl — precisely the dense crumb you were hoping to avoid.
Preheat properly, at 240–250°C, for a good half hour, and get steam around the bread for the first ten to fifteen minutes. A preheated Dutch oven is the most reliable home method; a tray of boiling water on the oven floor, or a handful of ice cubes thrown in, also works. Do not open the door during that initial phase. Once the crust has set, vent the steam so the bread can brown and crisp.
Underbaking reads as density too. A pale loaf pulled early has a gummy interior, and slicing it warm makes it worse. Bake until the crust is a deep, even brown, the base sounds hollow and the loaf has lost noticeable weight. Then leave it on a rack for at least an hour — cutting hot bread crushes the crumb structure you spent all day building.
A few quiet saboteurs
- Weak flour. Low-protein flour cannot build the gluten network a free-form loaf needs. Check the label and choose bread flour for wet doughs.
- A tired starter. Use it when it is domed and at its peak, not after it has collapsed and turned thin and sharp.
- Forgotten salt. Salt tightens gluten and controls fermentation; without it, dough is slack and spreads.
- Measuring by volume. Cups of flour vary wildly. A scale removes a whole category of guessing.
What to change first
Diagnose in the order the dough develops: fermentation, shaping, hydration, then the bake. Change one variable at a time, and bake the same recipe three times before you judge it, noting room temperature, bulk time, final proof and how the dough felt.
If the crumb is tight and the crust pale, ferment longer. If the loaf spread and the middle is gummy, shape earlier and with more tension. If the shape is right but the bread never opened, add steam and heat. Dense bread is not proof that you are bad at baking; it is proof that one step needs ten more minutes or a firmer hand, and the next bake will tell you which.
Photo: terski / Pixabay
Related posts
More stories you’ll love reading